Do You Know The 8 Steps of Hair Coloring?
There are 8 crucial steps in hair coloring which professionals need to be totally familiar with.
These steps make an enormous difference to the quality of your final hair color result.
We will go through each of these in this blog.
Step 1: First, Do your color analysis
Correct color analysis is the most important part of the entire coloring process.
This is where you take a look at each part of the hair and determine its health, previous coloring history.
And most importantly, how many levels it needs to be lifted (or darkened) by.
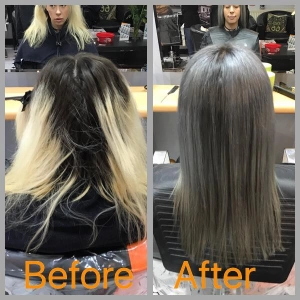
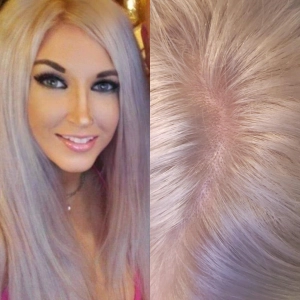
Note that hair very often has sections with different levels - as in the picture below.
When there are different sections, each section will need to be analysed separately to determine how much that part needs to be lifted by.
You may (and in fact you probably will) need to first take action on the darkest part, and lift that before coloring the whole head.
This client has a very dark regrowth but blonde ends. The dark regrowth needs to be lifted with bleach before coloring.
WATCH VIDEO: WE BLEACHED & TONED THIS HAIR A BEAUTIFUL ASH BLONDE
Step 2: Determine the lift that each section of the hair requires
Read off the target hair color level from the current level and make a note of how many levels you are going to need to lift each level by.
Note that if you are looking to go blonde, then your target level is 9 or 10.
Subtract your client's current hair color level from 9 or 10 to know how many levels you need to lift the hair by.
Once again, if different sections are of different levels (for example the root area might be darker) you need to do this for each part.
Use this chart to identify what level your client's hair is at (regrowth hair or natural hair)
 hair_levels.png)
Step 3: Use the following rules to determine the products that you will be requiring at each stage.
The rules for hair color, bleach and developer choice are as follows:
- Up to 2 levels lift: use the target color plus 20 Vol developer
- 2-3 levels lift: use the target color plus 30 Vol developer
- More than 3 levels lift: use bleach first. Then color or tone (Double process coloring)
- For toners, pre-lighten first then use either 10 or 20 Vol developer.
So, if any part of the hair requires bleach, you will need to do that first. Lift it up. Then you will be ready to color the whole head.
Watch the video below if you are unsure of how to do this.
WATCH VIDEO: HOW TO LIFT DARK ROOTS WITH BLEACH BEFORE COLORING & TONING
Step 4: How to apply and work with bleach

An example of hair that has been bleached correctly - a consistent level from roots to ends.
Make your mix 1 part bleach to 2 parts developer. This will give you a gravy-like mixture.
Use 20 Vol for up to 3 levels lift and for the root area.
Use 30 Vol for higher lift.
Never use anything higher than 30 Vol.
Use Brilliant Blondexx Bleach with Bond Protect where possible. You will get better protection and great lift at the same time.
Work fast with bleach because bleach will keep processing while it is wet.
For full head bleaching start at the back (where the hair is the thickest) and work your way around, segmenting finely so as not to mixx any areas.
For regrowth or partial bleaching start on those parts which need the most lift. That way you give those parts the most processing time (and the most lift).
Make sure that you are very generous with product when applying the bleach. Saturate the hair as much as possible - a slightly gravy-like mixture will help you achieve that.
Check the bleach mixture on the hair after fifteen minutes by peeling back some of the mixture.
Be aware that you need to get the hair to as close to very very pale yellow in most cases.
Generally speaking, hair will look lighter than it is while it is wet and processing. Do not under-bleach. That is the no 1 mistake that inexperienced stylists make.
Step 5: How to Choose your Color
If the hair has no previous color on it and has been suitably pre-lightened, you can just go ahead and apply your chosen color using 20 Vol developer.
If you are looking to go darker or toning down, once again you can just go ahead and apply your chosen color using either 10 or 20 Vol developer.
If however, you are looking to change reflect from very warm (orange, red, copper) to very cold (ash), or if the hair has color build-up from previous applications then you will need to pre-lighten first to get rid of the previous color.
This is known as color stripping.
The rules for grey hair coverage:
What if your client has grey hair? Then you need to apply the following rules when making your color and developer choices.
- For up to 20% grey hair, just use your target color with 20 Vol developer for up to 3 levels lift.
- For salt and pepper hair, you really need to lift the base as much as possible.
- So it is a good idea to use 30 Vol. This will allow you to allow grey hair to blend in more naturally.
- For more than 20% grey hair, add in the same percent of the equivalent base shade as the percent of your grey hair
- For example, if your client has 40% grey hair at the root area, add in 40% of the equivalent base shade to your target shade.
- Say for example, that your target shade was 7A (ash blonde). You would add in 40% of 7N to 60% of your 7A. Then add in the developer in a 1:1 ratio for overall color quantity to developer.
When you get salt-and-pepper hair like our model above, you will need to lift the base with 30 volume developer.
Step 6: How to Choose your Toner After Pre-lightening
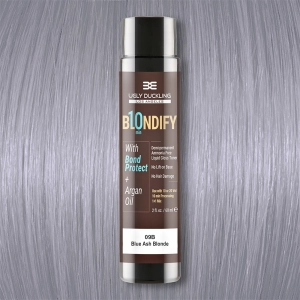
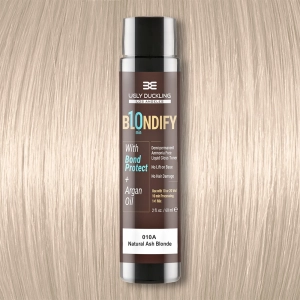
If you are looking to tone hair ultra blonde (platinum blonde, ash blonde, violet blonde) then please use the chart below to make your toner choice.
Use this toner choice guide
Step 7: How to Apply Color or Toner
When using Ugly Duckling colors, make your mix 1+1 with regular colors and liquid toners.
For Ugly Duckling cream toners and for high lift colors, make your mix 1+2.
For Blondify Liquid Toner, the mix is 1+1. But in a bottle, not in a bowl.
This is what an Ugly Duckling color plus developer mix should look like: smooth, rich & creamy.

Brush the hair through thoroughly first.
If working with cream color, make a nice, smooth paste. Segment finely and start applying, starting from the back.
The first application should be done with a brush.
Do a second application using fingers, wearing gloves.
Try and rub the hair color into your client's hair as much as possible.
Leave in hair for between 15 to 30 minutes.
If working with Blondify liquid color, the application is straight out of the bottle. Work fast, and saturate the hair really thoroughly. Really rub in the product into the hair.
Leave in 10 minutes and then rinse.
Step 8: How to Finish the Color & Bleach Application for Maximum Vibrancy, Shine & Hair Health
You should take a strand in your fingers and examine carefully to see how ready it is exactly.
When the color is ready, let a few drops of water fall on the hair and rub some more.
Then some more water (say half a glassful) and rub some more again.
This process is called "emulsification" and makes all the difference in the final color result.
Then let the water flow. Not too hot. As close to cold as your client can bear it would be good.
Hot water kills delicate color reflects, especially blues and greys.
Once rinsed, apply an acidic hair care product. This closes the hair cuticle really well and is what will help you produce a really fantastic hair condition which your client will remember.
All Ugly Duckling hair care products are acidic. The masks are more acidic than the shampoos. So if you can do use mask as well as shampoo.
That's it! Follow these 8 steps and you will be sure to produce fantastic color results every time!
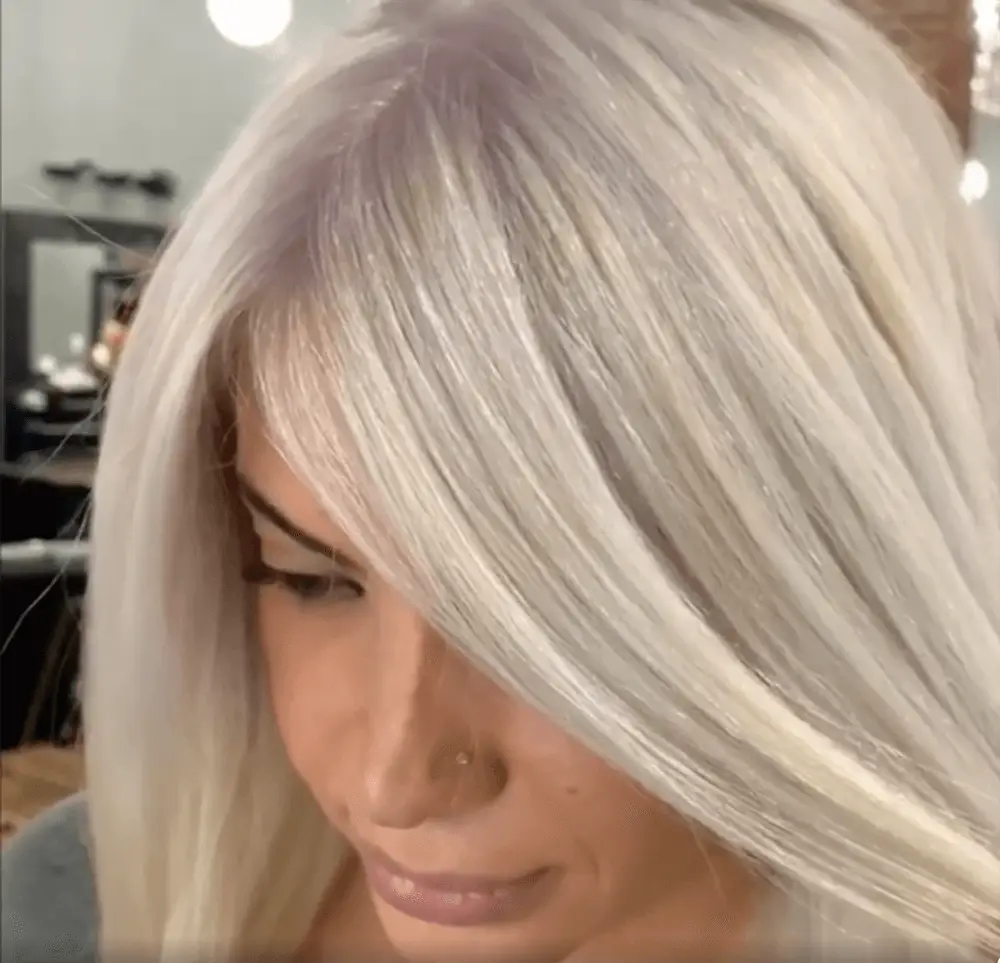
The final result after bleaching and toning, Hair by Elona Taki.


 Which Toner To Use.jpg)
